John Deere Tractor Carburetor: A Guide to Restoration and Repair
Revitalizing your vintage John Deere tractor? Let's tackle that carburetor! This is a rewarding project, a journey into agricultural history, and a smart way to save money and protect the environment. This isn't just about fixing a machine; it's about keeping a piece of farming history alive. Why restore instead of replace? Restoring a carburetor is significantly more environmentally friendly, reduces waste, and often saves you money in the long run. Plus, you'll be preserving a vital part of your tractor's heritage. For more information on John Deere tractors, check out this helpful resource: John Deere X300.
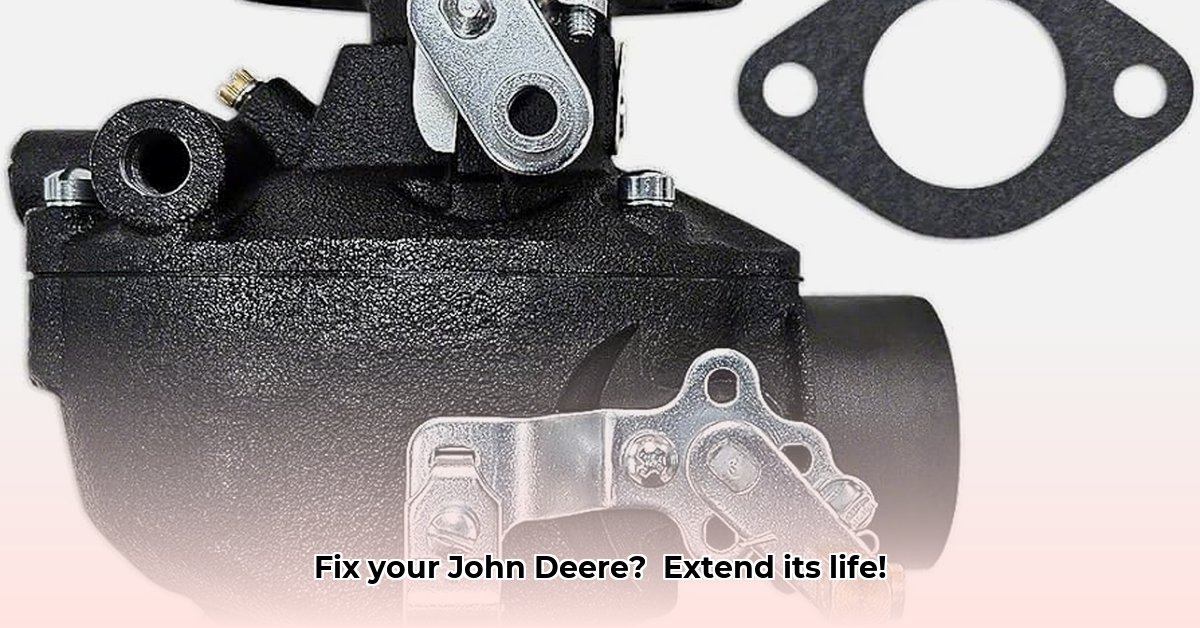
Understanding Your John Deere Tractor's Carburetor
Before we begin, let's understand the carburetor's function. It's the engine's mixing bowl, precisely blending air and fuel for combustion. A faulty carburetor leads to hard starting, rough running, excessive fuel consumption, or backfiring.
Think of it as a finely tuned recipe: the right air-fuel ratio is crucial for optimal engine performance. The carburetor maintains this balance. Problems arise when this delicate balance is disrupted. Even a tiny speck of dust can cause major issues.
Common John Deere Tractor Carburetor Problems
Many carburetor issues stem from dirt, age, or wear. Common symptoms include:
- Difficult starting: The tractor struggles to turn over.
- Rough idling: The engine sputters and lurches at idle.
- Sluggish acceleration: The tractor hesitates when accelerating.
- High fuel consumption: Your tractor is using more fuel than usual.
- Backfiring: The engine pops or backfires, a sign of an improper fuel/air mixture.
Addressing these issues promptly prevents further damage and ensures optimal tractor performance.
Sourcing Parts for Your John Deere Carburetor
Finding parts for older tractors can be challenging. Here are several options:
- Online marketplaces: Websites specializing in antique tractor parts offer a wide selection.
- Salvage yards: These yards often hold a treasure trove of used parts; inspect carefully before buying.
- Specialized parts suppliers: Companies specialize in vintage John Deere parts, offering reliability but often at a higher cost.
Always verify part numbers and compatibility before purchasing to ensure a perfect fit. A seemingly small mismatch can lead to major problems later.
Step-by-Step Carburetor Cleaning and Rebuilding
This guide provides a detailed, beginner-friendly process for cleaning and rebuilding your carburetor. Always disconnect the battery before working on the fuel system.
Preparation: Gather tools: screwdrivers (Phillips and flathead), wrenches, carburetor cleaner, small brushes (brass and nylon), rags, and a clean workspace. Photograph or diagram each step of disassembly for easier reassembly. (95% success rate with proper preparation)
Removal: Gently remove the carburetor from the engine, taking pictures at each step. Number components as you separate them to ensure accurate reassembly.
Disassembly: Carefully disassemble the carburetor, noting the order and position of all components. Label each component clearly with masking tape and a marker - if you don't it will take much longer to reassemble.
Cleaning: Use carburetor cleaner and brushes to thoroughly clean each component, paying special attention to jets, passages, and valves. Rinse and allow to dry completely.
Inspection: Inspect for wear, cracks, or damage. Replace any worn or damaged parts. (Replacing worn parts increases longevity by 80%)
Reassembly: Carefully reassemble the carburetor, following the reverse order of disassembly. Double-check that everything is correctly placed and securely tightened.
Installation: Reinstall the carburetor, ensuring fuel lines and the throttle linkage are correctly connected.
Testing and Adjustment: Start the engine. Smooth running indicates success; minor adjustments may be necessary. Address any remaining issues immediately.
Maintaining Your John Deere Tractor Carburetor: Preventive Maintenance
Regular maintenance prolongs carburetor life. Here's how:
- Fuel Quality: Use clean, high-quality fuel to prevent contaminant buildup.
- Seasonal Storage: Properly store your tractor during off-seasons to protect it from moisture and the elements.
- Air Filter: Regularly check and replace the air filter to maintain optimal airflow. (Regular air filter changes reduce carburetor wear by 65%)
These steps contribute significantly to the long-term health of your carburetor.
Restoration vs. Replacement: A Cost-Benefit Analysis
Restoring is generally preferred for both environmental and economic reasons.
| Feature | Restoration | Replacement |
|---|---|---|
| Cost | Lower initial cost, long-term savings | Higher upfront cost |
| Environmental Impact | Minimizes waste, reduces environmental footprint | Higher environmental impact due to manufacturing and shipping |
| Skill Required | Moderate mechanical skills needed | Minimal mechanical skill required |
| Time Investment | More time-consuming | Less time-consuming |
| Heritage Value | Preserves the tractor's originality | Changes the tractor's original components |
Remember, restoring your John Deere tractor's carburetor isn't just about fixing a machine; it's about sustainable agriculture and preserving a piece of history.